import tensorflow as tf
from tensorflow import keras
import keras.datasets as d
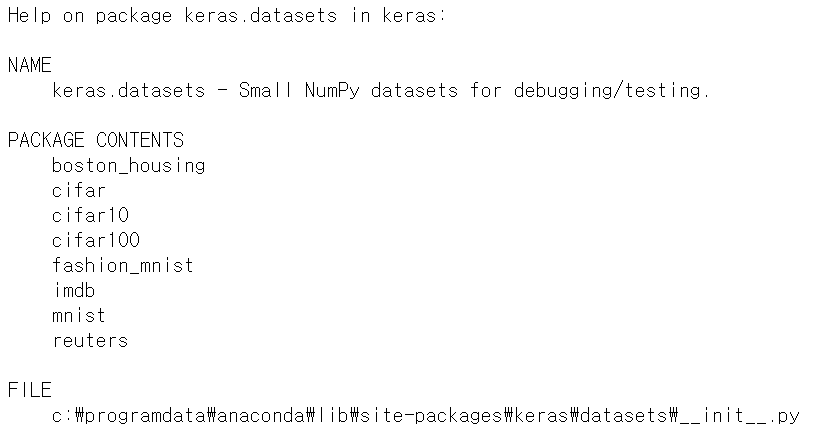
help(d)keras에서 제공하는 데이터셋은 boston_housing(보스턴 집값 예측), cifar(이미지 분류), mnist(손글씨 분류), fashion_mnist(의류 분류), imdb(영화 리뷰 감정 분류), reuters(뉴스 토픽 분류)가 있다.
fmnist = keras.datasets.fashion_mnist
(X_train,y_train),(X_test,y_test) = fmnist.load_data()

print(X_train.shape)
print(y_train.shape)
print(X_test.shape)
print(y_test.shape)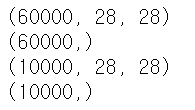
fashion mnist 데이터를 train, test set으로 나누어 불러 왔다. train set은 6만장, test set은 1만장의 데이터로 이루어져 있다. 각 데이터는 28*28의 pixel로 이루어져 있다.
y label은 0부터 9까지의 숫자로 이루어져있는데, 각 라벨은 아래와 같은 의미를 가진다.
0 : T-shirt/top
1 : Trouser
2 : Pullover
3 : Dress
4 : Coat
5 : Sandal
6 : Shirt
7 : Sneaker
8 : Bag
9 : Ankel boot
import matplotlib.pyplot as plt
plt.figure(figsize=(12,12))
for i in range(9):
    plt.subplot(3,3,i+1)
    plt.title(y_train[i])
    plt.imshow(X_train[i])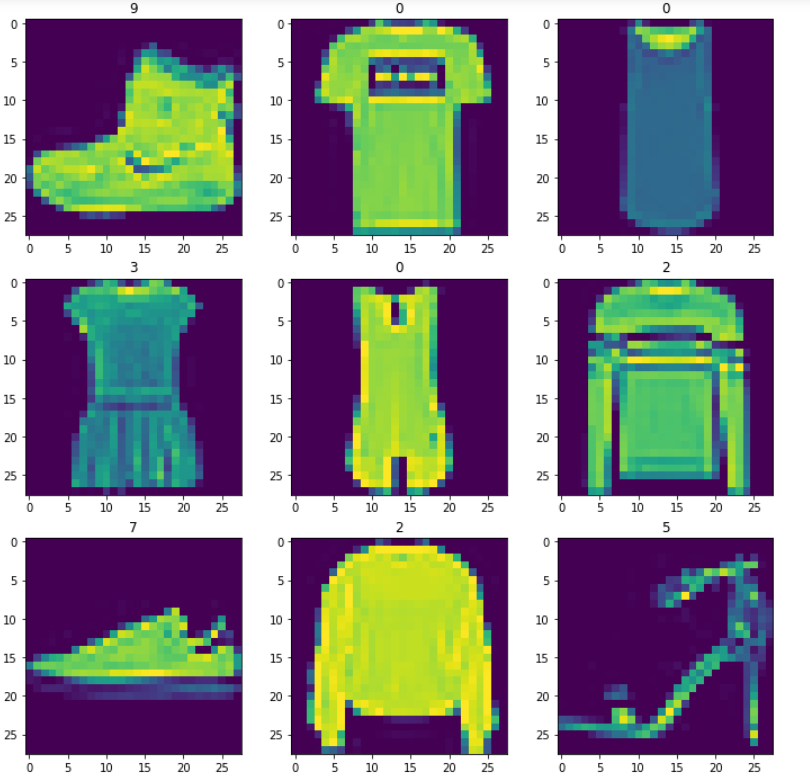
각 데이터를 대략적으로 판단하기 위해 train set에서 9장을 골라서 시각화 했다.
import numpy as np
X_train2 = X_train[:,:,:,np.newaxis] #차원 증가(3차원으로, reshape의 효과)
X_test2 = X_test[:,:,:,np.newaxis]

X_train2 = X_train2/255
X_test2 = X_test2/255
이제 train set과 test set을 각각 모델에 맞게 변형시키겠다.
CNN 모델의 input은 4개의 차원 (행의 개수, width, height, channel 수)로 들어가야 한다. 위에서 X_train.shape에서 (60000, 28, 28)의 구조를 가지는 것을 확인했고, 이 데이터는 흑백 데이터이므로 channel = 1의 차원을 추가해야 한다.
X_train.reshape(len(X_train), 28, 28, 1)로 구현할 수 있고, X_train[:, :, :, np.newaxis]로도 (60000, 28, 28, 1)의 shape을 구현할 수 있다.
각 pixel 값이 0에서 255 사이의 숫자이므로 X_train과 X_test를 모두 255로 나누어 정규화를 수행한다.
from tensorflow.keras.utils import to_categorical

y_train2 = to_categorical(y_train,10)
y_test2 = to_categorical(y_test,10)
y는 0에서 9사이의 숫자를 갖는 라벨값으로, keras의 분류 모델은 one hot encoding이 되어야 하므로 to_categorical로 [0, 1, 0, ... , 0]의 라벨을 새로 만들어 주었다.
from keras.models import Sequential
from keras.layers import Dense,Flatten,Dropout
from keras.layers.convolutional import Conv2D,MaxPooling2D

model = Sequential()
model.add(Conv2D(filters = 32, kernel_size=(3,3),strides=(1,1),padding='Same', activation = 'relu', input_shape = (28, 28, 1)))
model.add(MaxPooling2D(pool_size=(2,2)))
model.add(Conv2D(filters = 64, kernel_size=(3,3),strides=(1,1),padding='Same', activation = 'relu'))
model.add(MaxPooling2D(pool_size=(2,2)))
model.add(Conv2D(filters = 32, kernel_size=(3,3),strides=(1,1),padding='Same', activation = 'relu'))
model.add(MaxPooling2D(pool_size=(2,2)))

model.add(Flatten())
model.add(Dense(units = 128, activation = 'relu'))
model.add(Dense(units = 64, activation = 'relu'))
model.add(Dense(units = 32, activation = 'relu'))
model.add(Dropout(0.25))
model.add(Dense(units = 10, activation = 'softmax'))
fashion mnist data는 mnist에 비해 이미지의 특징적인 것들이 많으므로 Conv2D -> maxpooling을 반복하면서 노이즈를 제거했다. Flatten, FC layer들을 거치고 Dropout을 시켜 모델을 생성했다.
model.compile(loss='categorical_crossentropy',optimizer='adam',metrics=['accuracy'])
model.summary()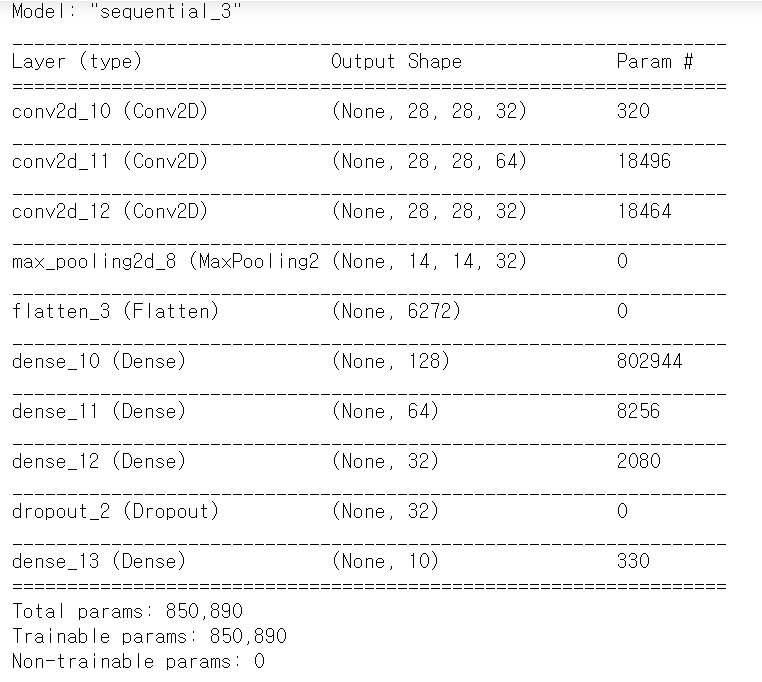
hist = model.fit(X_train2,y_train2,epochs =5 , batch_size=100,verbose=2)
locc,acc = model.evaluate(X_test2,y_test2)
print('loss:', round(loss,3))
print('accurate:', round(acc,3))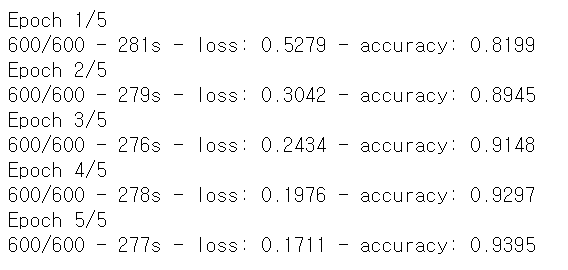
loss: 0.23 / accuracy: 0.92
model을 학습 후 정확도를 측정했다.
'딥러닝 > 인공신경망' 카테고리의 다른 글
| LSTM 실습: reuters 예제 (0) | 2021.07.27 |
|---|---|
| LSTM 실습: imdb 예제 (0) | 2021.07.26 |
| CNN 실습: mnist 예제 (0) | 2021.07.22 |
| tensorflow, keras 실습: mnist 예제 (2) | 2021.07.22 |
| tensorflow, keras 실습: Iris data (0) | 2021.07.22 |


